Up next

Jasmin Nato |
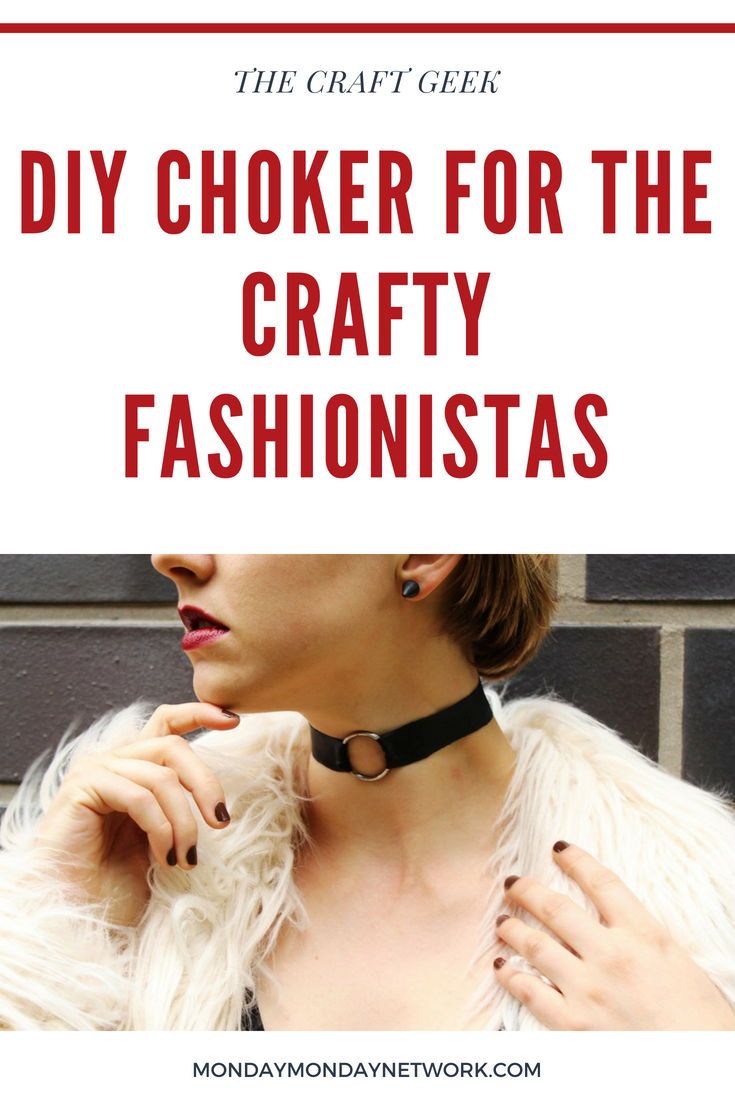
I don’t know how or why, but 90s chokers are making (or has made) a comeback this year. That’s why we have listed several DIY choker ideas for the rebel chick that you are.
But chokers are really not something that should be associated with any stereotype (I’m sorry), much like other stuff you can see in those “Starter Set/Pack” memes. Those are jokes, though, and shouldn’t be taken seriously.
Chokers come in different shapes and forms, and here are some of the store-worthy chokers your friends will probably envy:
Lace or Ribbon DIY Choker  http://www.lovemaegan.com/2015/09/diy-2015-fall-fashion-trends-victorian-details-lace-choker.html
Let’s start with the basics.
Lace and ribbons are the most usual stuff we see in chokers. I wonder why people don’t realize they can make these at home.
Just buy a few yards of different ribbons, laces, and garter from you regular craft store. Stitch the together using the appropriate color of thread and you are done.
Just make sure you make the choker comfortable enough. Don’t make it too tight.
You can also opt not to use garters since you are going to wear them yourself. Just measure a length of rope around your neck, attach buttons or velcro at the ends to connect them, and that’s it.
You can stitch a pearl bead, button or any design at the center for a more elegant look.
Boho DIY Choker  http://sweetteal.com/diy-boho-choker-necklace/
Boho style chokers incorporate the best of both worlds. It’s like a choker and necklace in one accessory.
Get leather or velvet cording, cord end caps, and charms from your local craft store and bring out your round-nose pliers.
Just measure a length of the cording, and attach the end caps at the end using your pliers. Next, attach the charms at the end caps.
That’s it. You could already wear it like that. Just tie the cording everytime you want to use it. Read a full tutorial here.
If you want something more complicated, you can cut a piece of cording the size of your neck’s circumference. Next, cut two longer pieces of cording.
Attach one of each of the longer cords’ ends to each end of the shorter cord by stitching or using end caps. Get a pair of jewelry hooks or locks and attach them to the caps.
After that, insert the loose ends of the two longer cords in one bead. Make a knot on each end, and you can wear them already.
Leather and Chain DIY Choker  http://www.highondiy.com/leather-gold-chain-balmain-choker-necklace-diy/
You can make this using an old belt!
Cut a piece of faux leather to your desired width or an old belt to the length of your neck’s circumference.
Next, glue (or stitch) your “gold” chain on the edges of the leather. After this, you can attach the cord ends and clasp using your pliers. See a step-by-step tutorial here.
Wear it proudly every day.